Creating a Tree Structure
In order to add test objects for the
SECUTEST.../
SECULIFE..., switch to the “PORTABLE OBJECTS”

menu and select the “ADD/CHANGE/LISTS” function
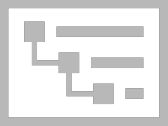
. A view is included here which consists of three windows arranged one on top of the other:
• Top window:
– Left-hand side: e-tree (electric tree)
Customers and portable (also medical) devices can be added and displayed here. The devices must always be assigned to a customer and are all on the same hierarchy level.
– Right-hand side: Location Tree
The locations to which devices from the e-tree can be assigned are displayed here.
• Middle window: Detail view of the test object’s master data
• Bottom window: objects list view
The size of these windows can be increased or decreased by moving the top or bottom border, which are indicated by 2 short horizontal lines.
Each of the windows can be activated by selecting it. The active view is outlined in green.
The respectively active sub-functionality is identified by a more pronounced green bar on the top side of the green outline.
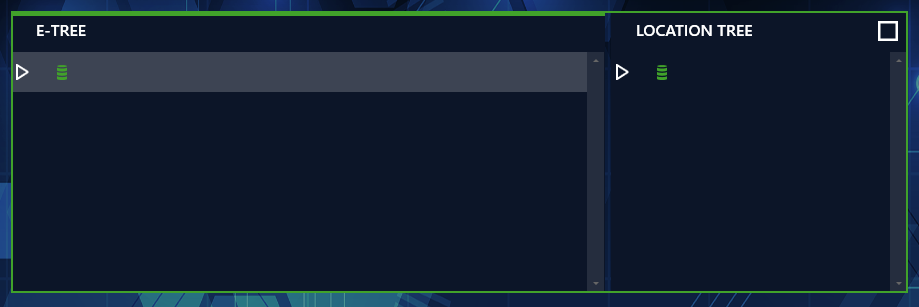
Tree Window with Activated E-Tree
Creating a New Object
The following steps must be executed in order to create a new object:
1. Activate the e-tree.
2. Select the element under which you want to create a new element.
3. Select “create new element”

from the toolbar on the right-hand side of the window.
Alternatively, after selecting the element and clicking the right mouse key, you can display the tool menu and select the desired action with the left mouse key. 4. Select the desired element type in the “NEW ELEMENT” popup window which then appears.
The popup window always shows all possible elements that can be created under the selected element.
5. Select the number and the ID of the new element.
The ID can also be assigned automatically if the corresponding function is activated.
6. Select “CREATE”.
7. Further elements can be created by following the above procedure.
8. Finally select “CLOSE”.
9. Don’t forget to save the newly created structure by clicking the uppermost icon

in the toolbar.
Locations can be created in the location tree in the same way.
Test objects can now be assigned to locations by simply dragging and dropping them.
Adding Master Data
After creating all of the elements in the tree view, you can add to their master data. Select the desired element in the tree to this end and you’re provided with all of the data available for the respective element in the “ aster data detail view”. The element’s master data can be entered by selecting the corresponding field.
Don’t forget to save the newly entered master data by clicking the uppermost icon
in the toolbar.
All devices located hierarchically below the element selected in the tree view are displayed in the “Devices List View” window (bottom window).

 icon.
icon.