Synchronization
The SYNCHRONIZATION menu is available in the ENTERPRISE Premium, ENTERPRISE Ultimate and Premium CLOUD variants for controlling the exchange of data with offline clients with ENTERPRISE Ultimate.
• ENTERPRISE Ultimate and Premium CLOUD: synchronization between the database on the server and the local clients (e.g. laptop). Synchronization must be performed actively and offers the option of deciding which data is saved for the offline mode.
• ENTERPRISE Premium: only unresolved import databases can be resolved.
Unresolved Import Databases (ENTERPRISE Premium, ENTERPRISE Ultimate and Premium CLOUD only)
Unresolved import databases occur when a user doesn’t import all data immediately when using ENTERPRISE Ultimate, and instead defers some of the data. For example, he does not import some of the measurements. These deferred data are then displayed as an unresolved import database and can be checked at leisure by the same or another user with an ENTERPRISE Premium, ENTERPRISE Ultimate or Premium CLOUD license and administrative rights, and then imported if necessary.
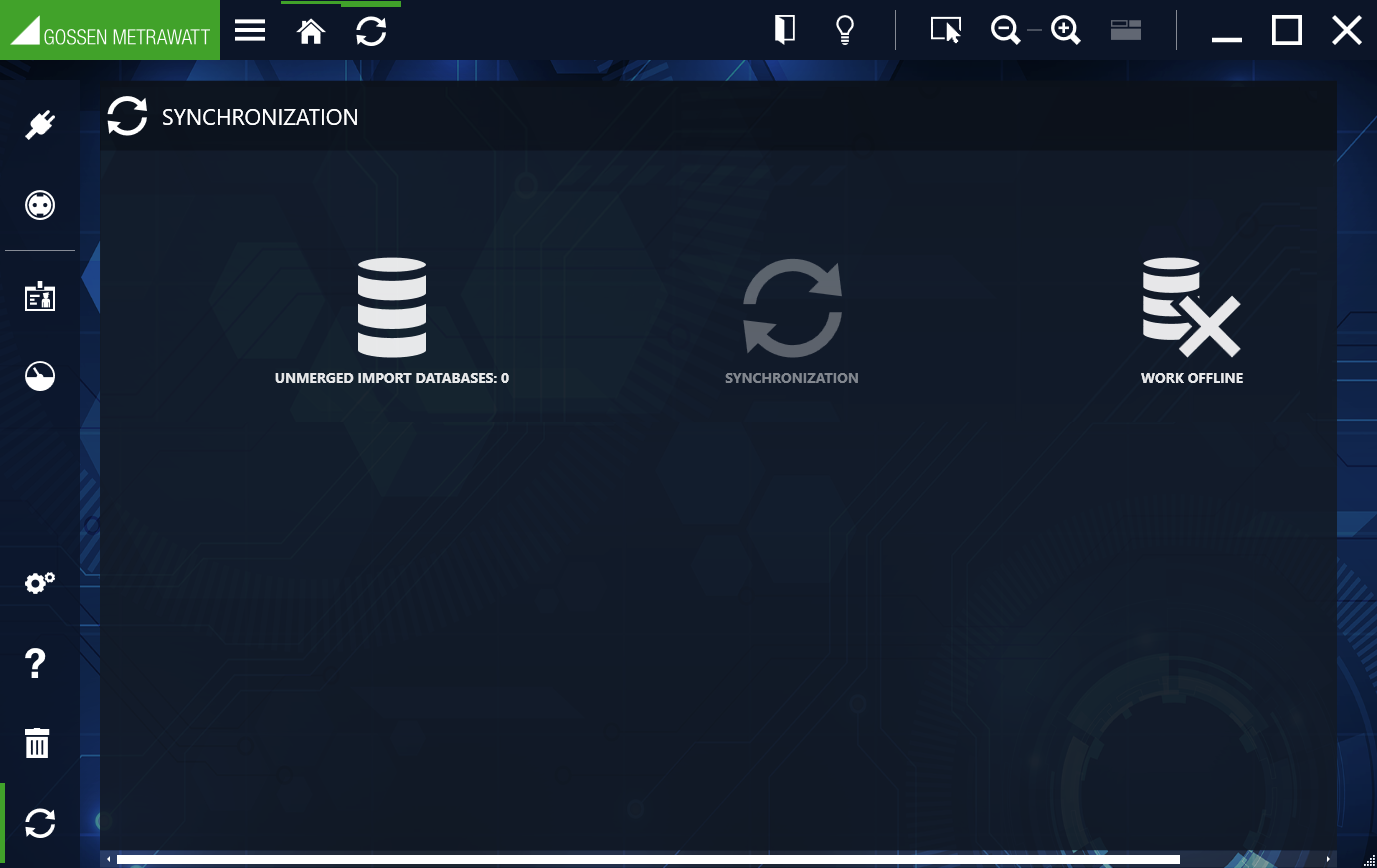
1. Select Synchronization.
The Synchronization menu appears.
2. Select UNRESOLVED IMPORT DATABASES.
The SELECT IMPORT DATABASE dialog appears.
3. Select the data base(s).
4. Click the IMPORT button.
The selected database(s) is/are imported.
Synchronizing Data (ENTERPRISE Ultimate only)
In order to make the required customer or object data available at the corresponding locations of use, it’s necessary to synchronize this data between the server database and the local database of the respective laptop/notebook.
After on-site testing, locally stored measurement and test data must then be backed up again to the server database by means of synchronization.
The synchronization process involves several phases. First of all, the local database is uploaded and merged with the server database. The user can then decide whether or not to download data for offline use, and if so which data. The selected data are then downloaded as a local database for the offline mode.
1. Start IZYTRONIQ.
2. Log in.
The “Offline Mode” / “Online Mode” prompt appears.
3. Select Online Mode.
4. Acknowledge by clicking OK.
5. Select Synchronization.
The Synchronization menu appears. You’ll see whether or not data are waiting to be synchronized under Unresolved Import Databases.
6. Select Synchronization.
The synchronization process is started. The local database is uploaded and merged with the server database.
The Download Objects prompt appears.
7. Respond to the Download Objects prompt in order to specify which data should be available in the offline mode.
No: No data are downloaded.
Yes: A further prompt appears asking which objects should be downloaded. After confirming with Yes, the tree view appears for free selection of the objects to be downloaded. If No is selected, the objects included in the previous synchronization are downloaded. The selected data are downloaded and are available as a local database for offline use.
8. Synchronization has been completed. Confirm successful completion by clicking OK.
Resetting the Local Database - Working Offline (ENTERPRISE Ultimate only)
In order to work offline with ENTERPRISE Ultimate, the local database is first reset and then synchronized with the server so that both are up to date. After returning to online mode, the local database is then synchronized with the server’s database.
1. Select Synchronization.
The Synchronization menu appears.
2. Select RESET LOCAL DATABASE.
The RESET LOCAL DATABASE security prompt appears.
3. Acknowledge the prompt by clicking Yes.
4. Select the desired data.
5. Click the Synchronization button.
The local database is reset, and is then filled with the selected objects and saved. You can now work offline.
Working Offline (Premium CLOUD only)
You can work offline with Premium CLOUD. After selecting this option, the local database is reset and then synchronized with the server so that both are up to date. After returning to online mode, the local database is automatically synchronized with the server’s database.
1. Select Synchronization.
The Synchronization menu appears.
2. Select WORK OFFLINE.
The WORK OFFLINE security prompt appears.
3. Acknowledge the prompt by clicking Yes.
The local database is reset, and then it’s synchronized and saved. You can now work offline.